My Ghostbusters Proton Pack Project
The build begins with a set of plans from the GB Fans website https://www.gbfans.com/equipment/. I started with using a program called Pepakura that allows you to make 3D models with paper, the link here will take you to the website https://tamasoft.co.jp/pepakura-en/. I then got a Proto pack pattern that allowed me to make a card representation on the parts. you can search online to find the proton pack file.
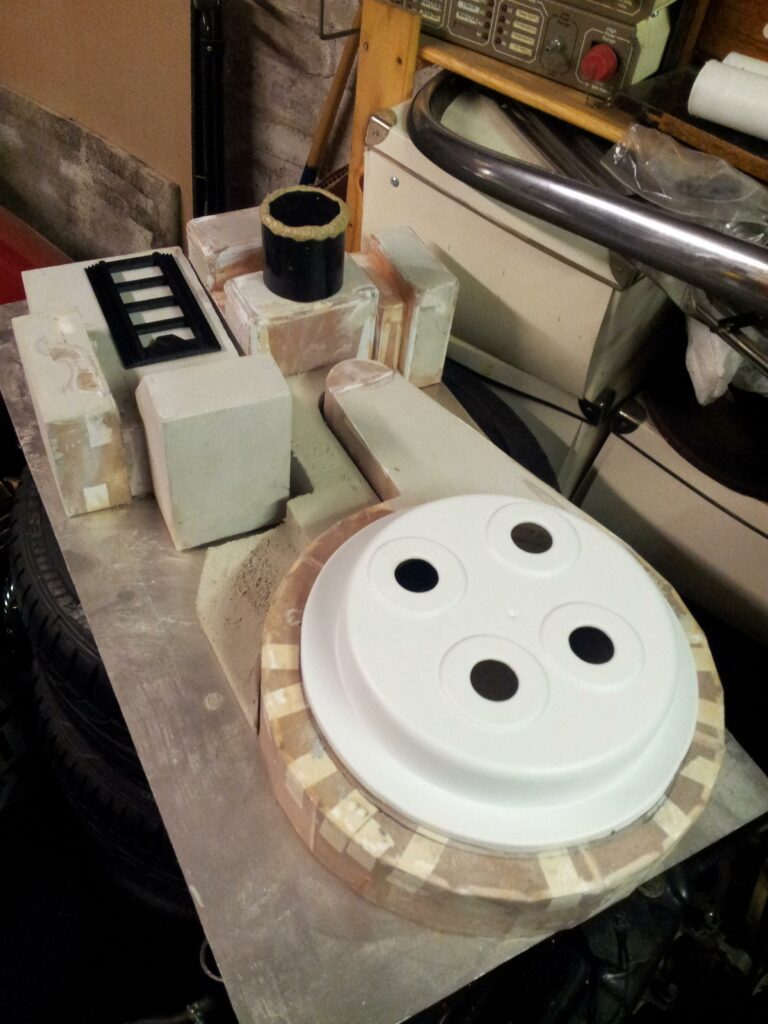
This is the second stage of the build where i had started to soak the card templates of the proton pack in fiberglass resin once that was dry i started laying fiberglass matting on the rear with plenty of fiberglass resin again. A few more coats and the shell is hard as a brick and ready to glue / bolt all the other parts that have had the same treatment to each other to form the main shell.
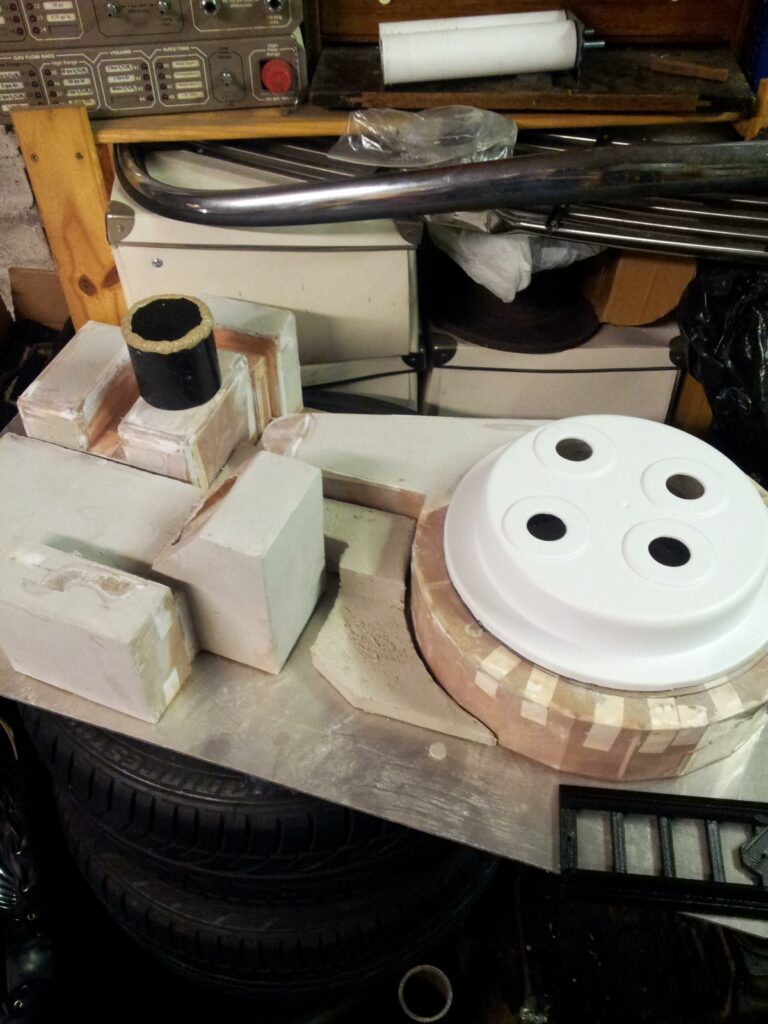
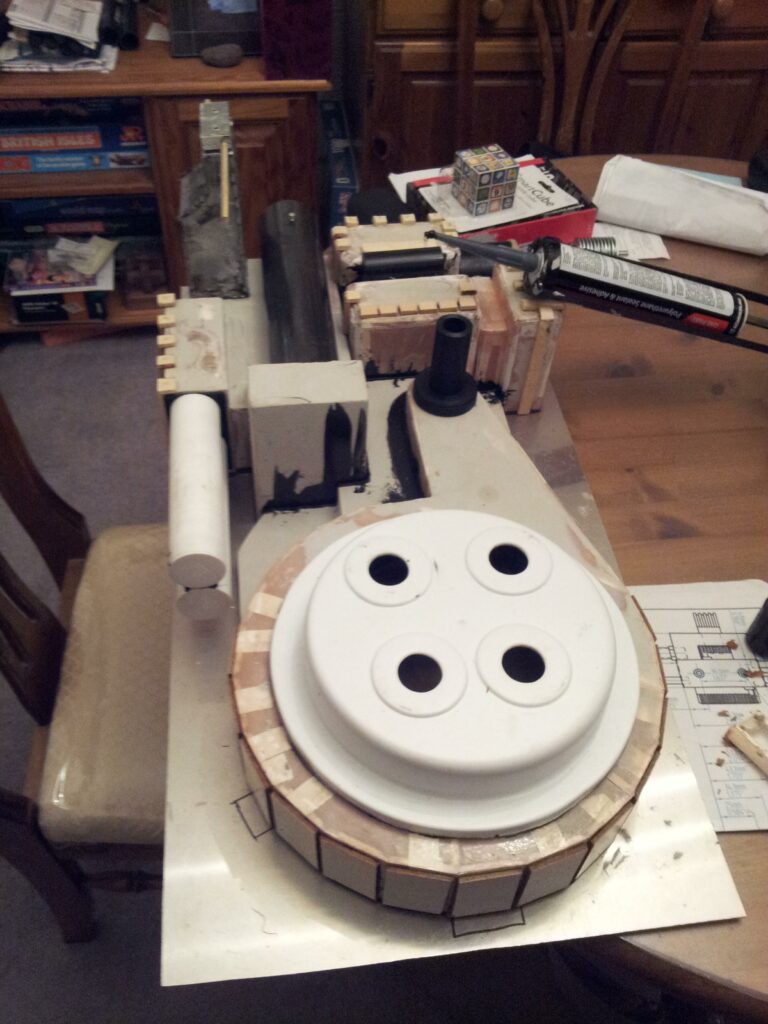
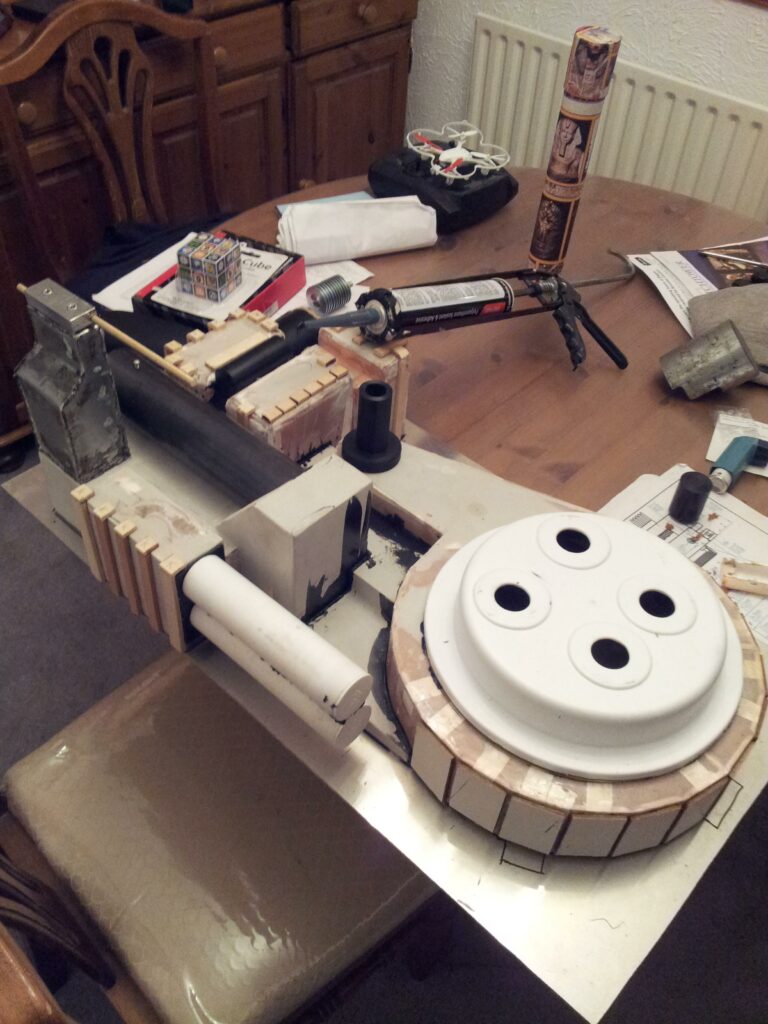
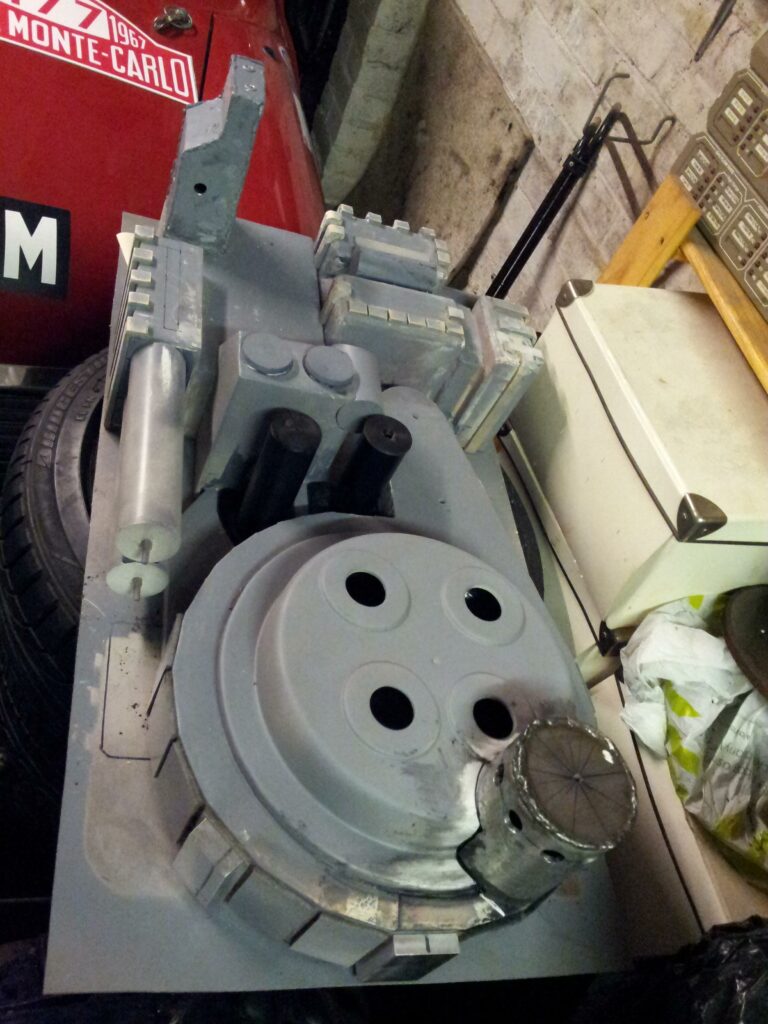
The second stage was to add filler to the places where the surface was uneven and then give it a light coat of primer. Now we can start adding the detailed parts that were custom made from the plans on the GBFans website.
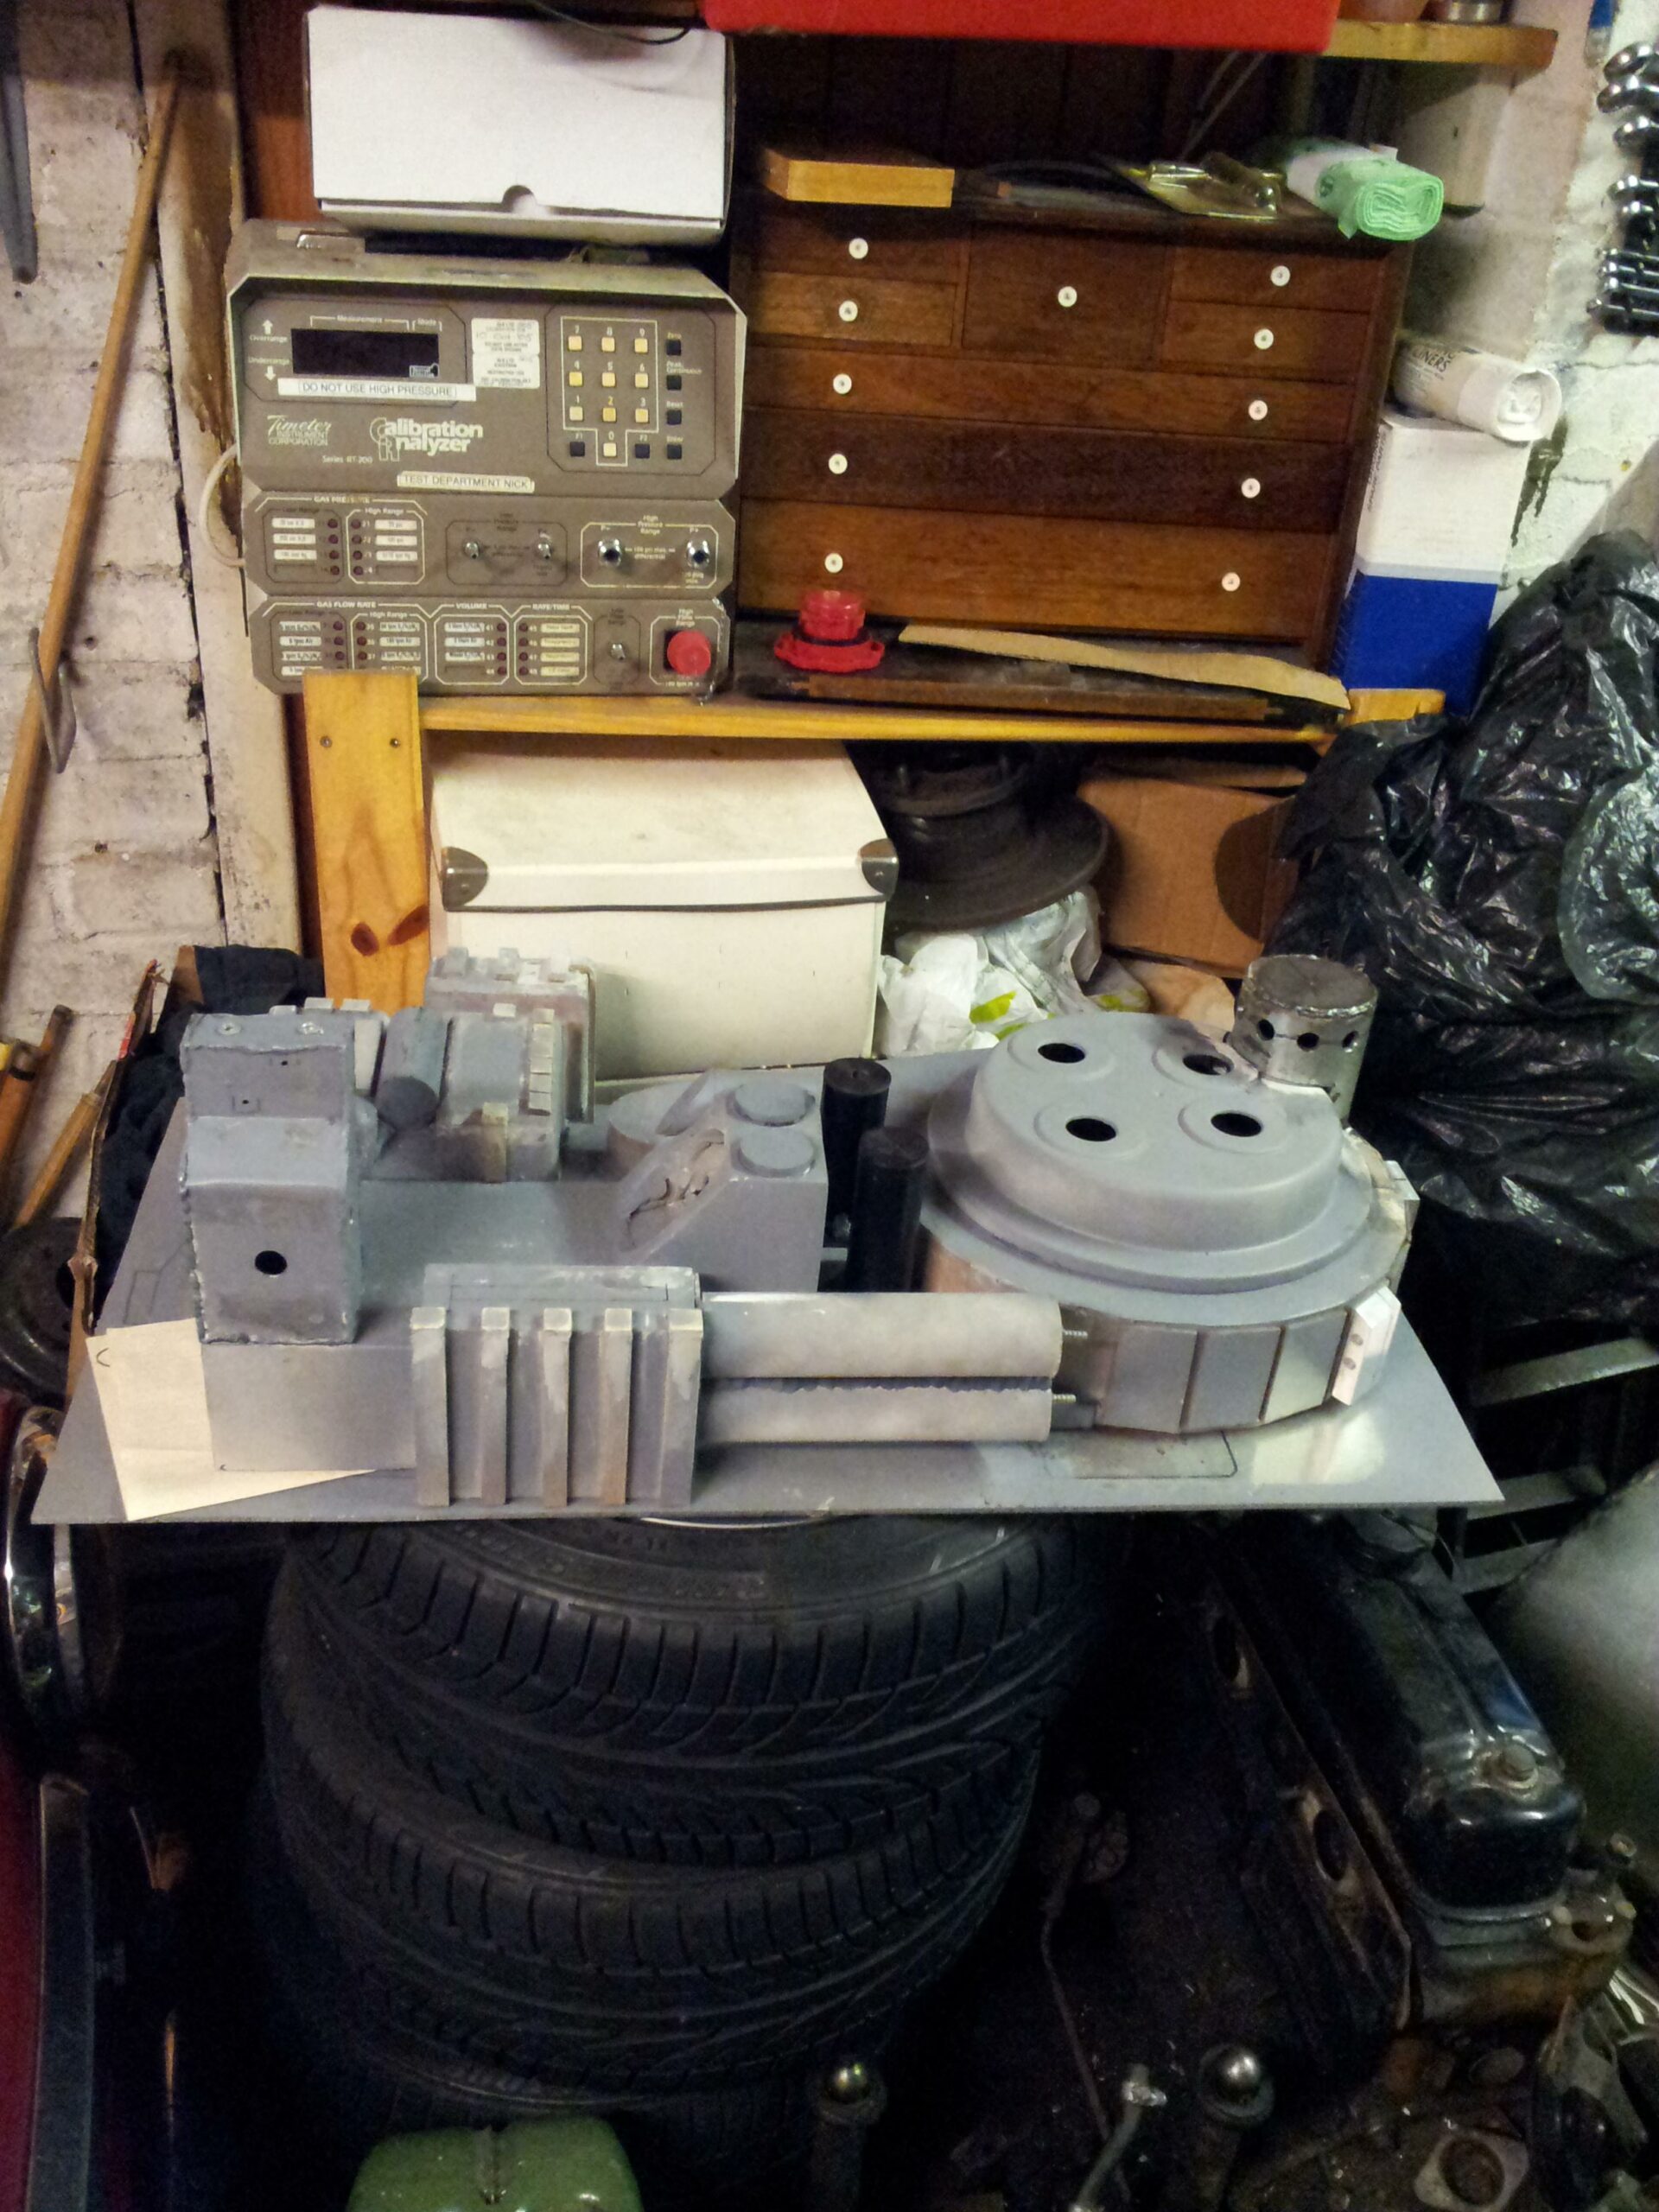
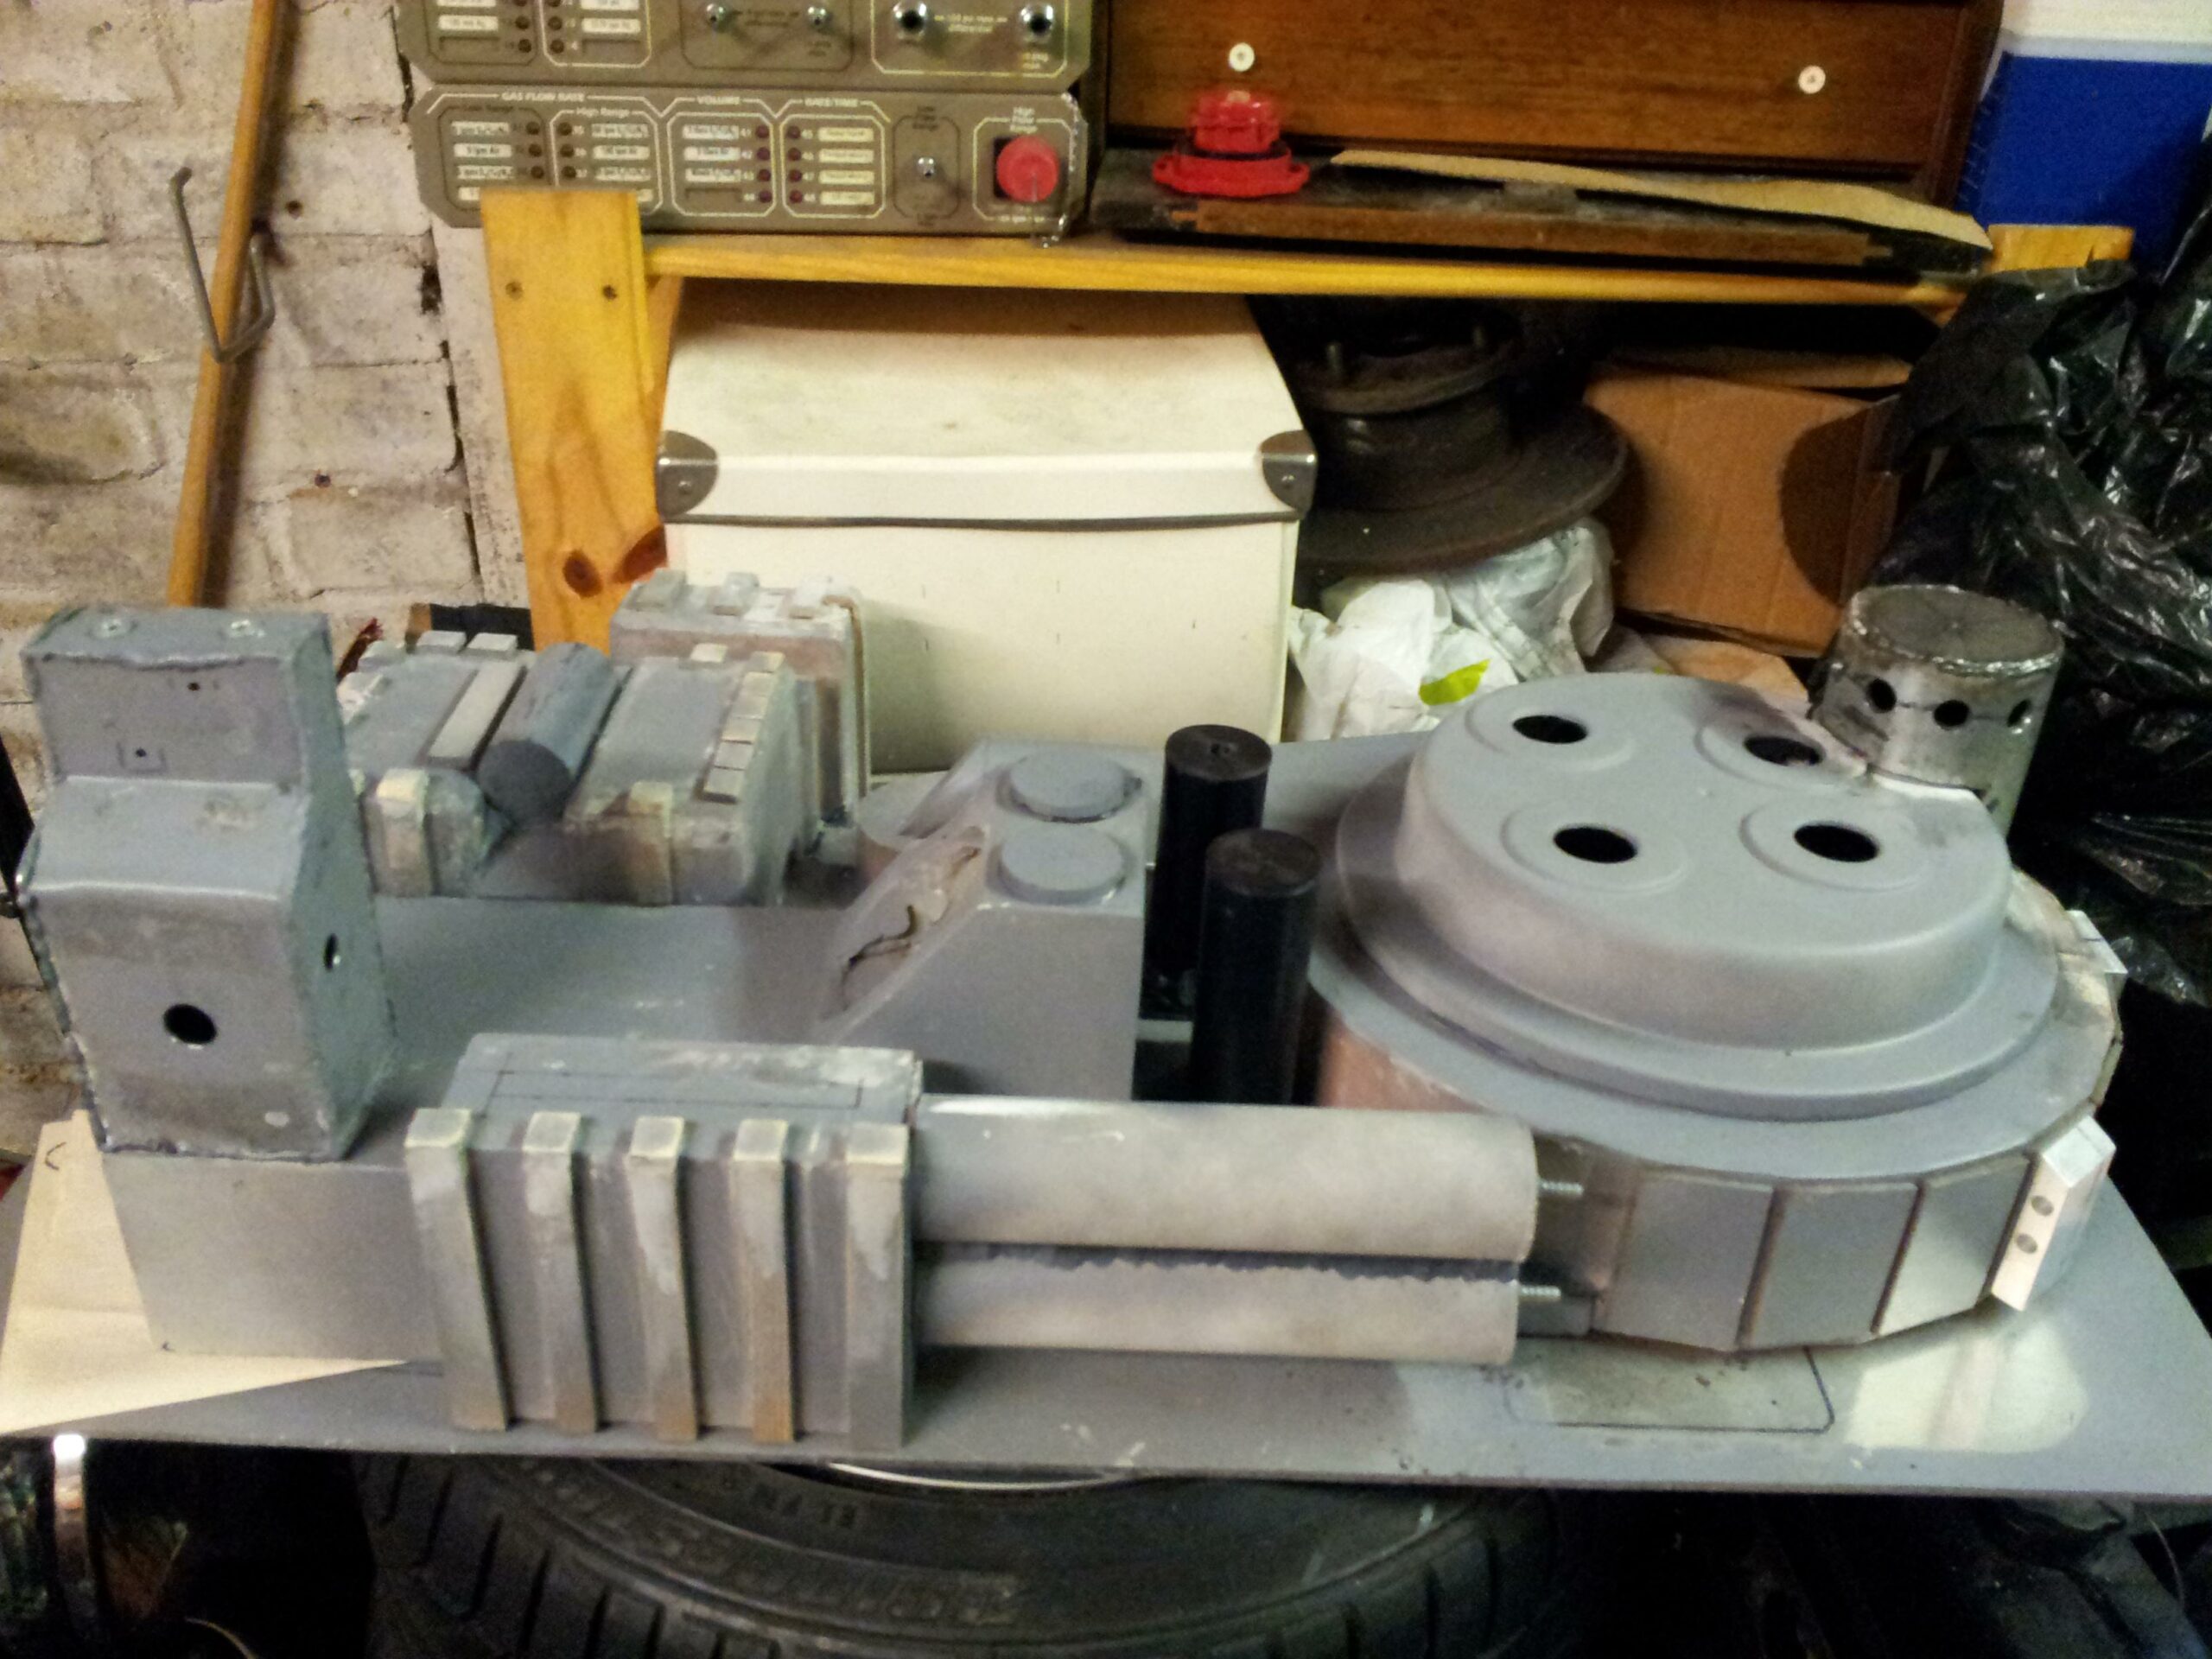
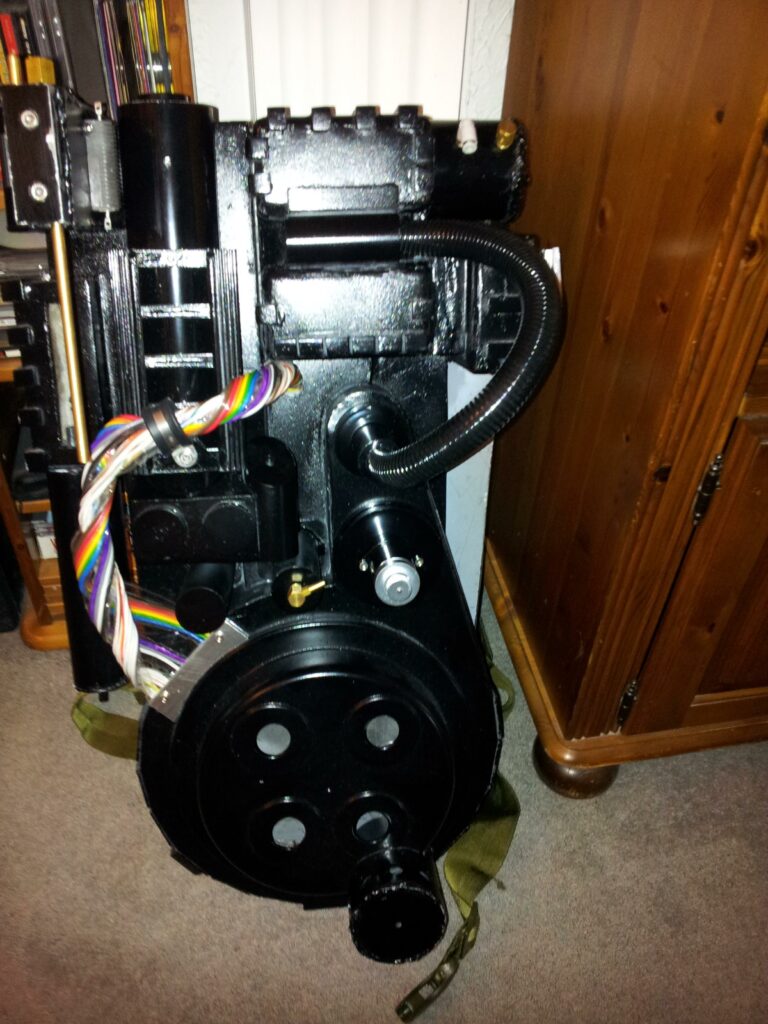
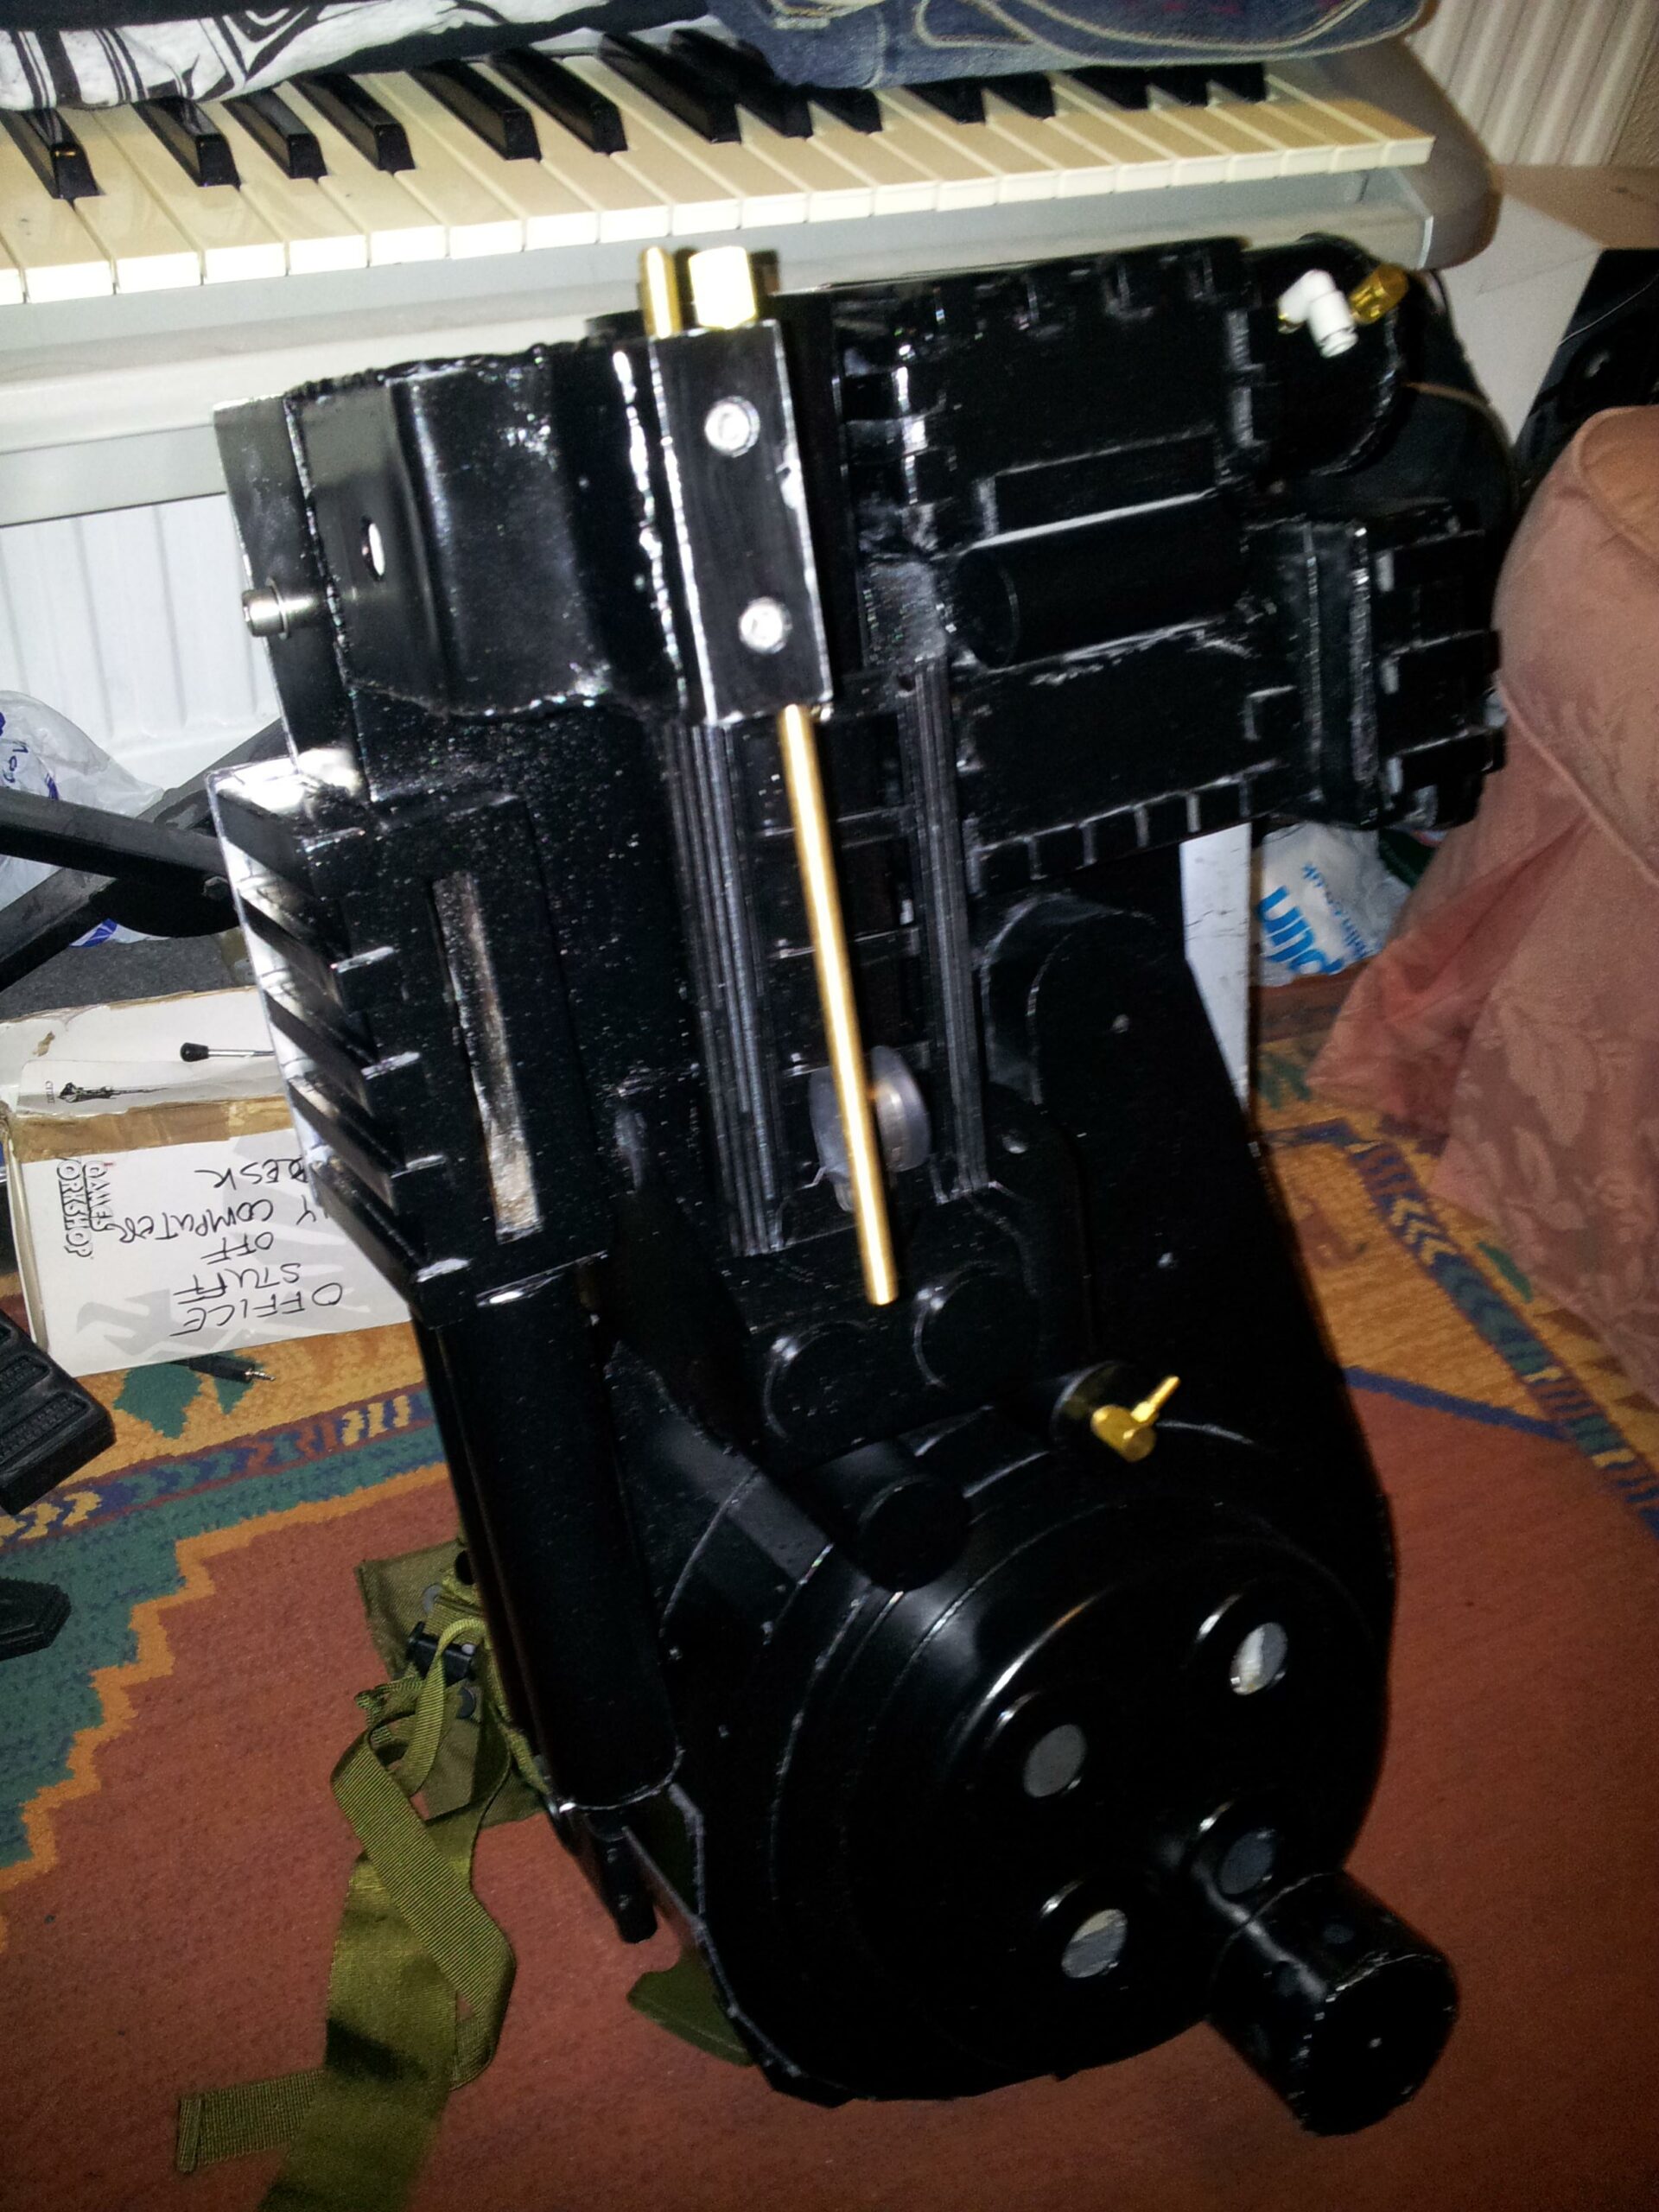
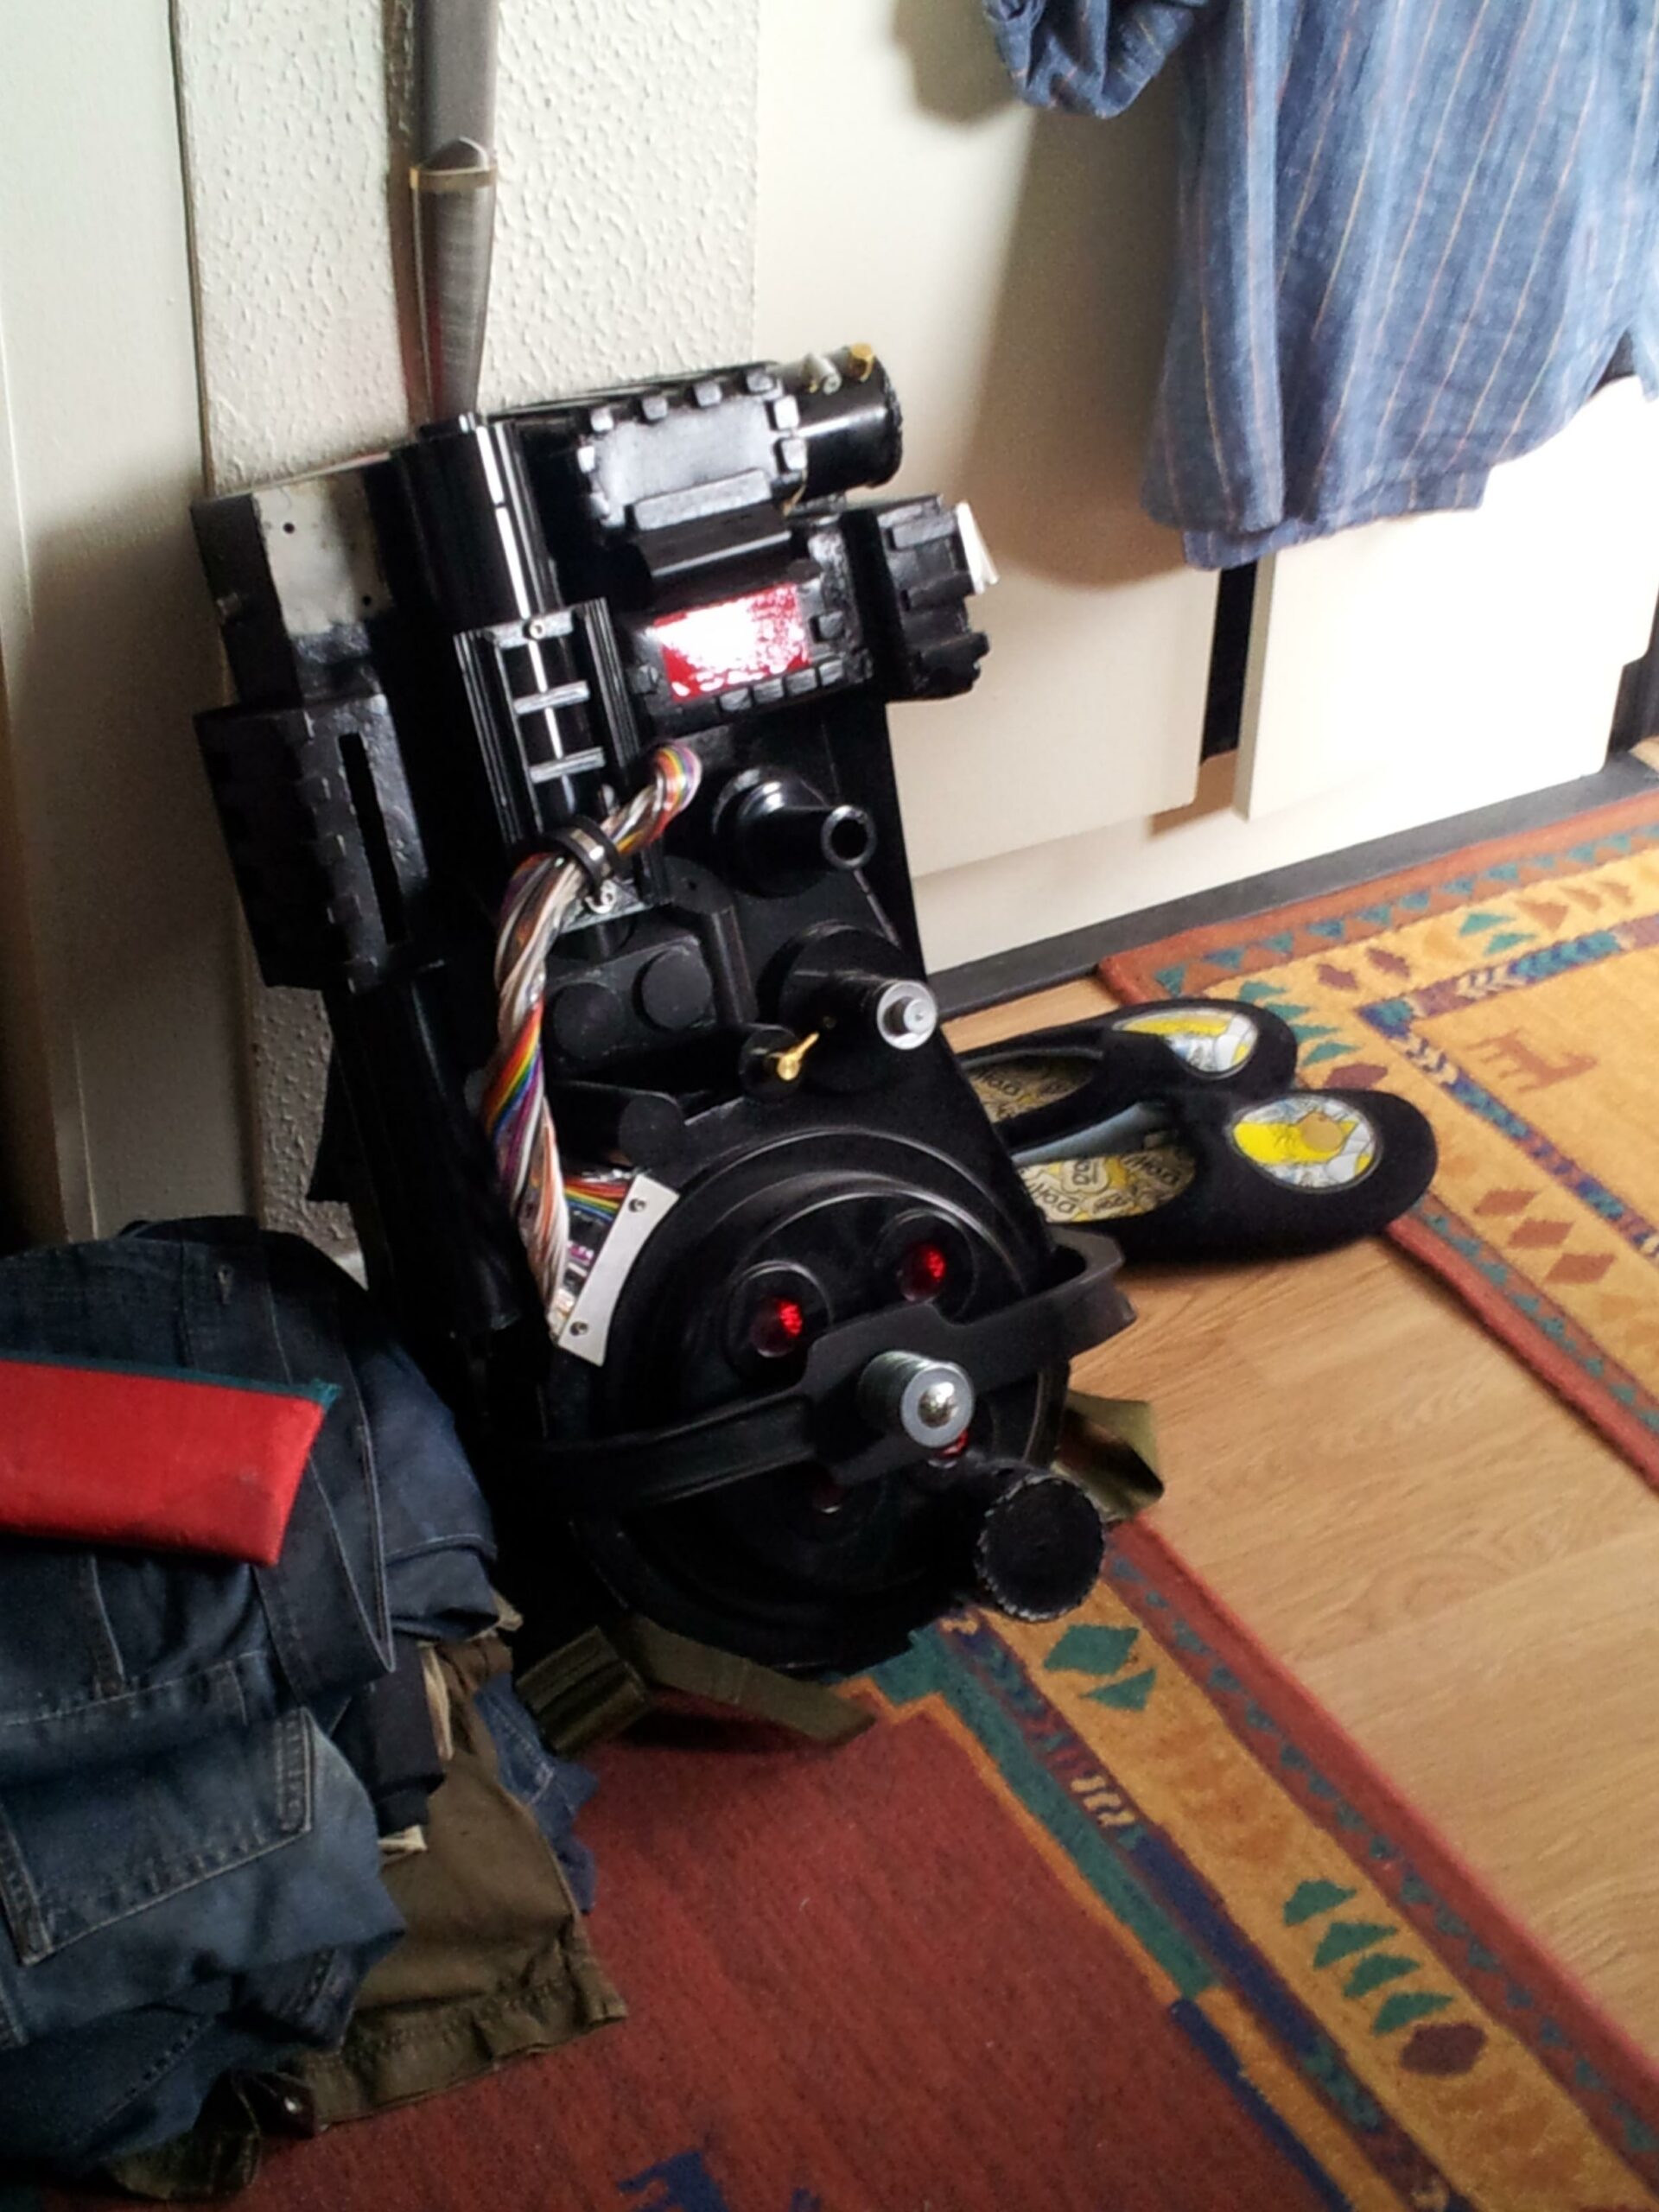
Here we see the fully painted shell with some of the extra parts added. The ribbon cable is extremely hard to come by but it is easy to create yourself, just some correctly coloured wires laid on a clear vinyl and wrapped around to make your very own ribbon cable. The clippard valve was also extremely expensive so I purchased as resin non functional copy from a guy called Nick-A-Tron props, he makes really nice copies from high strength resin at a really good price. The cyclotron was a bought vacuum formed part that I got from a man who is on the prop forums, its very nicely made but is only 90 % scale so is a little smaller than the original. All the other parts where welded up by me to add a more real feel but they could be made with plastic pipe and glue to represent welds.
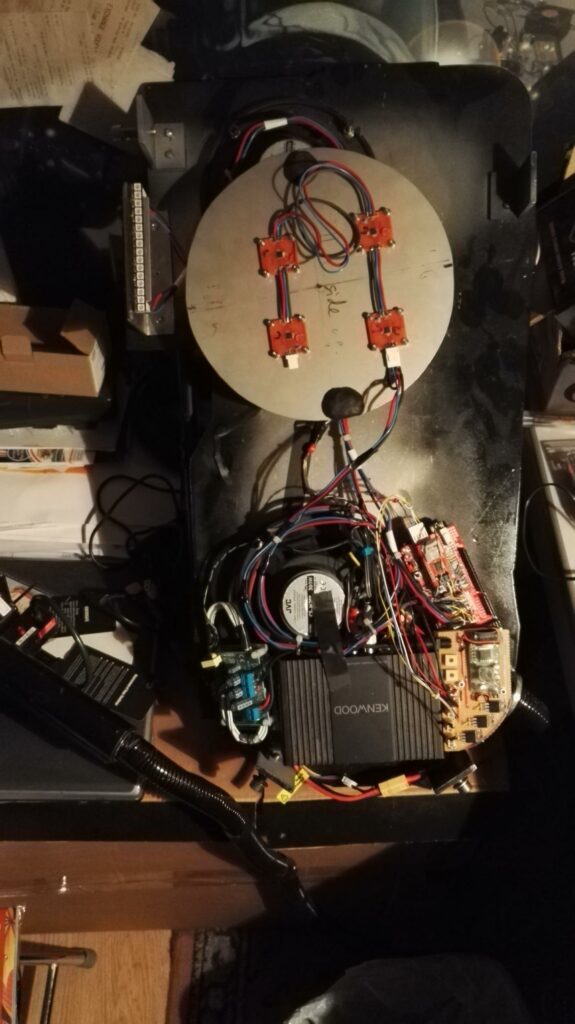
Here you see the maze of wires for the electronics that I put together, all mounted to the aluminium back board.
